
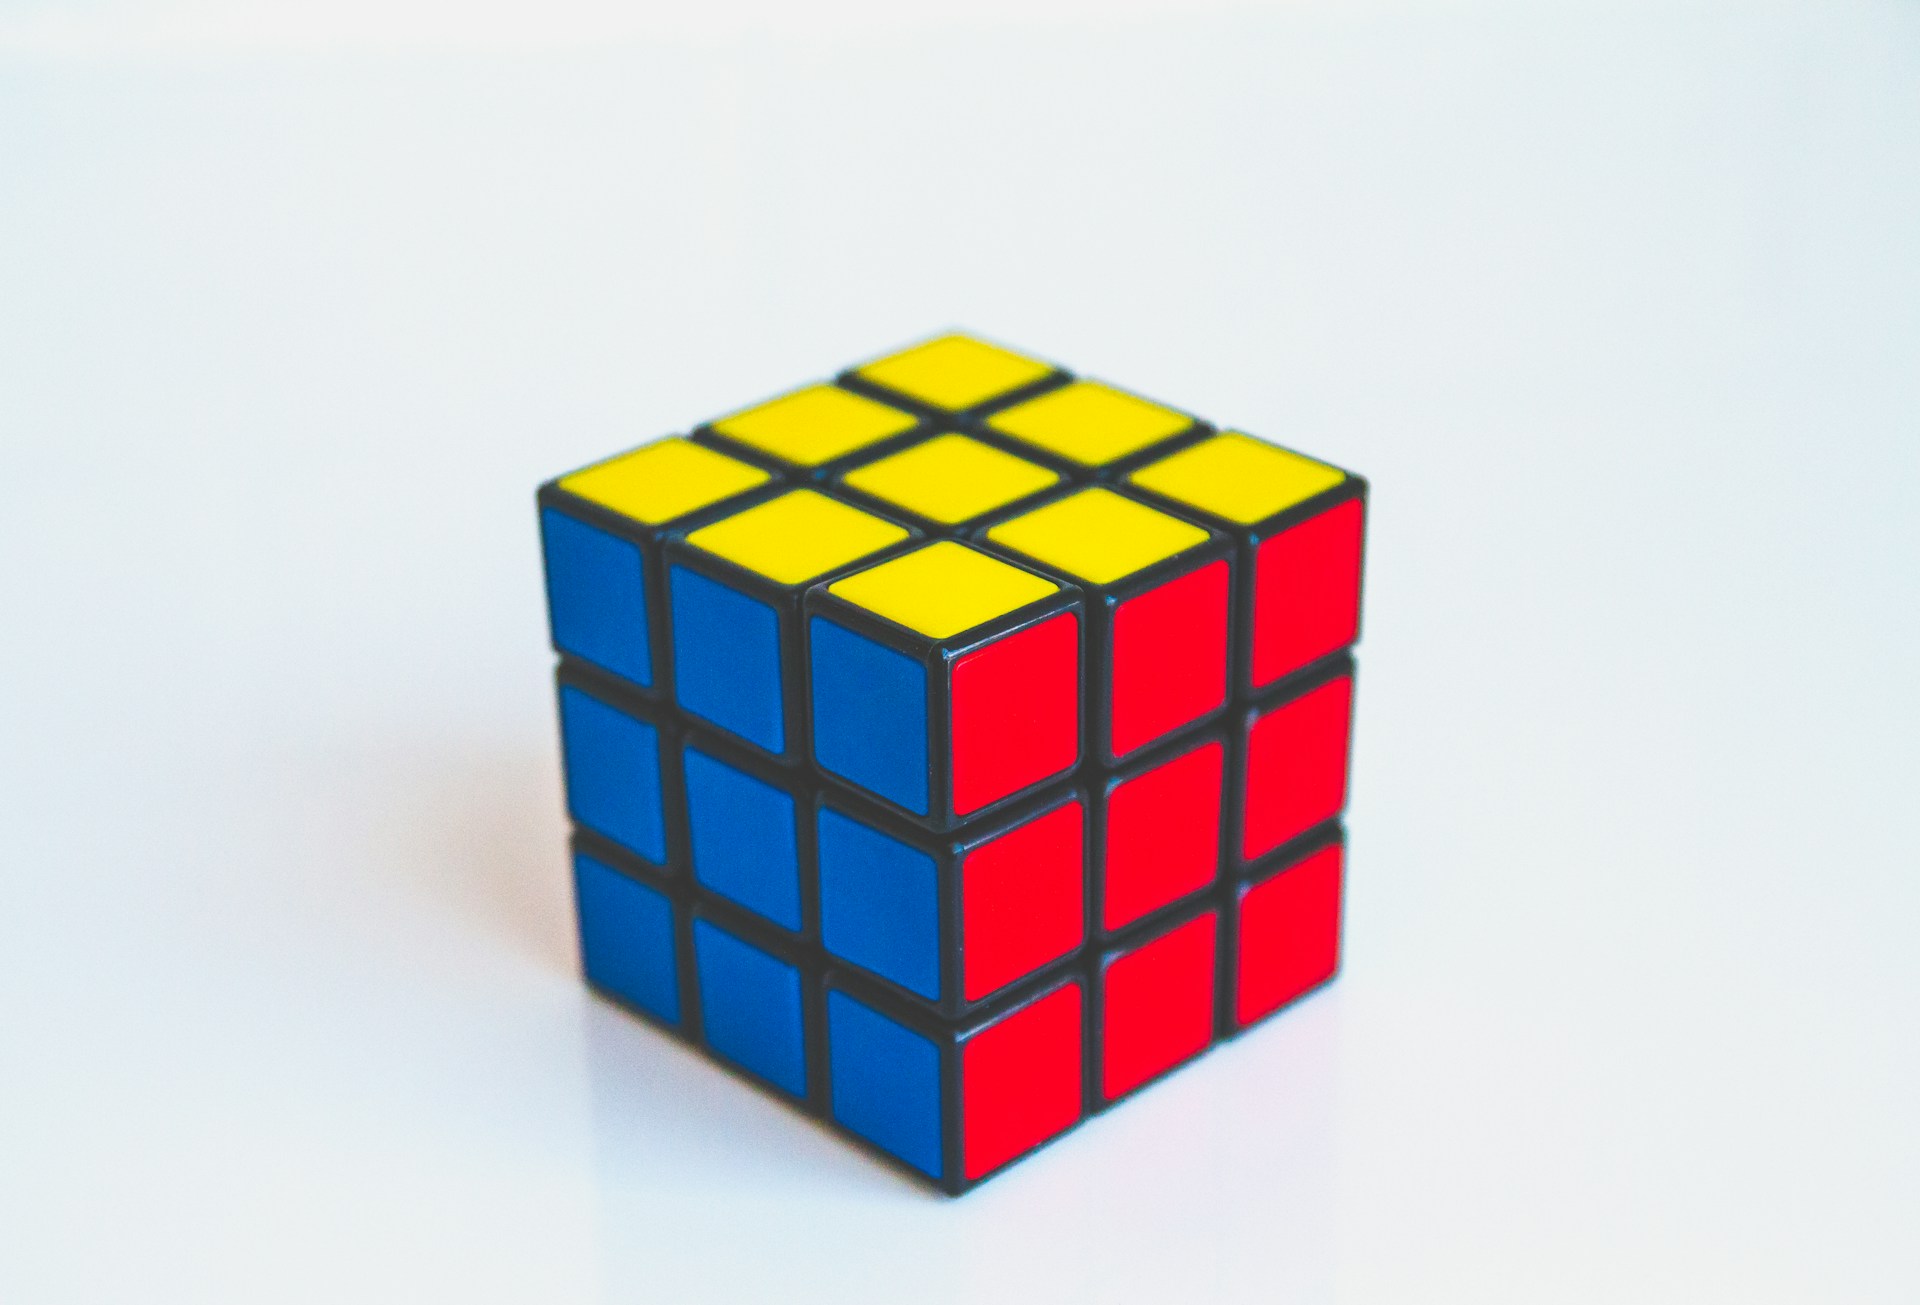
Five Key Takeaways
- Match complete pieces to the fixed center colors instead of trying to complete one colored face by itself.
- Begin by making a white daisy around the yellow center, then convert it into a correctly matched white cross.
- Keep the white face on the bottom and the yellow face on top after completing the white cross.
- Hold the cube exactly as instructed and complete every move in an algorithm before checking the result.
- Some algorithms temporarily disturb solved pieces. Continue the full sequence, and the pieces will return to their correct positions.
Solving a scrambled Rubik’s Cube can seem impossible, but it becomes manageable when you divide the process into small goals. You do not need advanced mathematics or exceptional memory. A beginner can solve a standard 3×3 Rubik’s Cube by learning a few move sequences and following the same layer-by-layer process each time.
This guide starts with a white daisy, converts it into a matched white cross, and then solves the cube one layer at a time. Each step explains what to look for, how to hold the cube, which moves to perform, and how to confirm that the step is complete.
This method assumes that the cube was scrambled using ordinary face turns. A cube that was taken apart, reassembled incorrectly, or physically twisted may contain a state that cannot be solved with normal moves.
Before You Begin: Understand the Pieces
A standard 3×3 Rubik’s Cube has three types of visible pieces:
- Centers: Six pieces with one color each. The centers determine the final color of each face.
- Edges: Twelve pieces with two colors each. Each edge belongs between two matching centers.
- Corners: Eight pieces with three colors each. Each corner belongs between three matching centers.
Think about complete pieces rather than individual stickers. For example, the white-red-blue corner will always contain those three colors, even when it is in the wrong position or twisted in a different direction.
A face is not correctly solved simply because all nine stickers show the same color. The edge and corner colors along the sides must also match the surrounding center pieces.
Different cubes may use different color arrangements, so you do not need to memorize which colors are opposite. Use the center pieces to determine where every edge and corner belongs.
Learn Rubik’s Cube Notation
Move sequences are written using letters that represent the six faces:
- U: Up face
- D: Down face
- L: Left face
- R: Right face
- F: Front face
- B: Back face
A letter by itself means to turn that face 90 degrees clockwise. Judge the direction as though you were looking directly at the face being turned.
An apostrophe means to turn the face 90 degrees counterclockwise. For example, R’ means to turn the right face counterclockwise.
The number 2 means to turn the face 180 degrees. For example, U2 means to turn the upper face halfway around.
The sequence:
R U R’ U’
means:
- Turn the right face clockwise.
- Turn the upper face clockwise.
- Turn the right face counterclockwise.
- Turn the upper face counterclockwise.
Do not rotate the entire cube in the middle of an algorithm unless the instructions specifically tell you to do so. Rotating the cube changes which sides count as the front, right, and left faces.
Move slowly at first. Saying each letter aloud can help you avoid skipping or reversing a move.
Beginner Algorithm Reference
| Purpose | How to hold the cube | Move sequence |
| Insert a white corner | White down; target corner at upper-front-right | R U R’ U’ |
| Insert a middle edge to the right | Edge matched to front center; destination on right | U R U’ R’ U’ F’ U F |
| Insert a middle edge to the left | Edge matched to front center; destination on left | U’ L’ U L U F U’ F’ |
| Create the yellow cross | Yellow up; line horizontal or L at back-left | F R U R’ U’ F |
| Swap two adjacent top edges | Two incorrect top edges at front and right | U R U R’ U R U2 R’ |
| Position the yellow corners | Correct corner at upper-front-right | U R U’ L’ U R’ U’ L |
| Rotate one yellow corner | Unsolved corner at upper-front-right | R’ D’ R D |
Complete every sequence from beginning to end. A piece may appear solved before the final move, but stopping early will usually disturb other parts of the cube.
Step 1: Make a White Daisy
Hold the cube with the yellow center facing upward.
Your goal is to place the four white edge pieces around the yellow center. When the step is complete, the yellow center will be surrounded by four white stickers, creating a flower-like pattern called a daisy.
Ignore the second color on each white edge for now. Those side colors do not need to match their centers during this step.
Search for an edge piece containing white. Remember that edges have two stickers, while corners have three. Move each white edge into an empty position beside the yellow center.
A white edge in the middle layer can often be moved upward by turning the adjoining side. A white edge in the bottom layer may require a 180-degree side turn. Before inserting another petal, turn the upper face so that its destination beside the yellow center is empty.
There is no single algorithm for making the daisy because the white edges can begin in many different locations. Move one piece at a time and observe how each turn changes its position.
The step is complete when all four positions beside the yellow center contain white edge stickers. White corner stickers do not count as petals.
Step 2: Turn the Daisy Into a White Cross
Keep the yellow center facing upward.
Choose one white petal and look at its second color on the side of the cube. Turn the upper face until that side color is directly above the center of the same color.
For example, if the petal is the white-red edge, turn the upper face until its red sticker is directly above the red center.
Now turn the red face 180 degrees. This moves the white-red edge from the daisy to the white face on the bottom while keeping its red sticker aligned with the red center.
Repeat the process for all four petals:
- Match the petal’s side color to the center below it.
- Turn that face 180 degrees.
When all four petals have been transferred, the bottom face should have a white cross.
Check the side colors as well. Each white edge’s second color must match the center directly above it. If the white cross is visible but a side color does not match, move that edge back to the upper layer and insert it again correctly.
After completing the cross, keep white on the bottom and yellow on the top for the rest of the solve.
Step 3: Complete the White Corners
The next goal is to finish the first layer by inserting the four white corner pieces.
Find a corner containing white in the upper layer. Look at its other two colors to identify its destination. For example, the white-red-blue corner belongs between the white, red, and blue centers.
Rotate the cube around its vertical axis until the corner’s destination is at the bottom-front-right. Keep the white face on the bottom.
Turn only the upper face until the matching corner is directly above its destination at the upper-front-right.
Repeat:
R U R’ U’
Continue until the corner is correctly inserted. Depending on its starting orientation, this normally takes one, three, or five repetitions.
Complete all four moves every time, even if the corner appears solved before the final move.
After solving one corner, rotate the cube around its vertical axis to bring another unsolved corner position to the bottom-front-right. Move the matching corner above it and repeat the same process.
If a white corner is already in the bottom layer but is twisted or in the wrong location, place it at the bottom-front-right and perform:
R U R’
This moves it into the upper layer so that you can position and insert it normally.
When the white layer is complete, inspect all four side faces. The bottom row of each side must be a solid color matching its center. A solid white face with mixed side colors is not a correctly solved first layer.
Step 4: Solve the Middle Layer
Keep white on the bottom and yellow on the top.
The middle layer uses the four edge pieces that contain neither white nor yellow. Look around the upper layer for one of these edges.
Turn the upper face until the edge’s front-facing sticker matches the front center. This creates an upside-down T shape on the front face.
Now look at the edge’s upward-facing sticker. That color tells you whether the edge belongs in the middle-layer slot on the left or right.
If the edge belongs on the right, perform:
U R U’ R’ U’ F’ U F
If the edge belongs on the left, perform:
U’ L’ U L U F U’ F’
After completing the sequence, the edge should be positioned between its two matching centers, and the white layer should still be solved.
Repeat the process for the other middle-layer edges.
Sometimes every edge in the upper layer contains yellow even though the middle layer is incomplete. This means a required edge is trapped incorrectly in the middle layer.
Place the incorrect middle edge at the front-right or front-left. Perform the corresponding insertion sequence to push it into the upper layer. You can then align and insert it correctly.
Do not continue until the first two layers are solved. On each side face, the bottom two rows should form one solid color matching the center.
Step 5: Create the Yellow Cross
Keep yellow facing upward.
Ignore the four yellow corners and look only at the center and four edge positions on the yellow face.
You will see one of four patterns:
- A dot
- An L shape
- A horizontal line
- A yellow cross
Use this sequence:
F R U R’ U’ F’
If you have a horizontal line, hold the cube so the line runs from left to right.
If you have an L shape, turn the upper face until the two yellow edge stickers are at the back and left positions. When viewed from above, the L will occupy the upper-left area.
Perform the sequence once, then inspect the new pattern.
A dot may require the sequence up to three times. Reposition the cube correctly for each new L or line pattern before repeating the moves.
If you already have a yellow cross, skip this step.
At this stage, only the upward-facing yellow stickers matter. The side colors of the yellow edges may not match their centers yet.
Step 6: Match the Yellow Edges With Their Centers
You now have a yellow cross, but its four side colors may be above the wrong centers.
Turn the upper face until as many yellow edges as possible match the side centers. You will be able to find either two matching edges or all four.
If all four match, continue to Step 7.
If two matching edges are adjacent, the two incorrect edges will also be adjacent. Rotate the entire cube around its vertical axis until the two incorrect edges are at the front and right.
Perform:
U R U R’ U R U2 R’
Turn the upper face afterward to align all four edges with their centers.
If the two matching edges are opposite each other, perform the sequence once from any orientation. Then turn the upper face until you find two adjacent matching edges. Place the two incorrect edges at the front and right and perform the sequence again.
When the step is complete, the side sticker on every arm of the yellow cross will match the center below it.
Ignore the corners for now. They may still be in the wrong positions or face the wrong directions.
Step 7: Put the Yellow Corners in the Correct Positions
The goal is to place each yellow corner between the correct three center colors. Its yellow sticker does not need to face upward yet.
Examine the three colors on each upper corner. A yellow-red-blue corner is correctly positioned when it sits between the yellow, red, and blue centers, regardless of which direction its yellow sticker faces.
If one corner is already in the correct location, rotate the cube around its vertical axis until that corner is at the upper-front-right.
Perform:
U R U’ L’ U R’ U’ L
The upper-front-right corner remains in its location while the other three corners cycle around the upper layer. Their orientations may change, which is normal.
Check the corners again. If all four are correctly positioned, continue to Step 8. If not, keep a correctly positioned corner at the upper-front-right and repeat the sequence.
If none of the corners is correctly positioned at first, perform the sequence once from any orientation. Check again, place a correct corner at the upper-front-right, and repeat as needed.
Do not try to make the yellow stickers face upward during this step. You are correcting only the corners’ positions.
Step 8: Rotate the Yellow Corners and Solve the Cube
Keep yellow facing upward.
Find a yellow corner whose yellow sticker is not on top. Rotate the cube around its vertical axis until that corner is at the upper-front-right.
From this point onward, do not rotate the entire cube.
Repeat:
R’ D’ R D
Continue repeating the complete four-move sequence until the yellow sticker on the upper-front-right corner faces upward. This normally requires two or four repetitions.
The first two layers will temporarily look scrambled. This is expected. Do not stop halfway through a sequence or try to repair individual pieces.
When the working corner is oriented, turn only the upper face to bring another unsolved yellow corner into the upper-front-right position.
Repeat R’ D’ R D until that corner’s yellow sticker faces upward.
Continue moving unsolved corners into the working position with upper-face turns and repeating the sequence. Do not rotate the entire cube between corners.
After the final corner is oriented, the first two layers will return to their solved positions. You may need one final upper-face turn to align all four side colors.
Your Rubik’s Cube is now solved.
Common Problems and How to Fix Them
- The white face is complete, but the side colors do not match: One or more white edges or corners are in the wrong positions. Identify each piece using all of its colors, not only its white sticker.
- A middle-layer edge keeps entering the wrong slot: Match its front sticker to the front center first. Then use the upward-facing sticker to determine whether the edge belongs on the left or right.
- The yellow-cross sequence gives an unexpected result: Confirm that yellow is on top. Hold a line horizontally and position an L at the back-left before performing the sequence.
- Previously solved pieces break during an algorithm: Check that you completed every move. Missing the final U’, F’, D, or R’ is a common cause.
- The cube looks scrambled during the final step: Continue repeating all four moves of R’ D’ R D. After solving one corner, move the next corner into place by turning only the upper face.
- Exactly one edge is flipped or one corner is twisted: These states cannot result from ordinary face turns on a correctly assembled cube. The puzzle may have been taken apart, reassembled incorrectly, or physically twisted.
- Only two individual pieces appear to be exchanged: A single pair of pieces cannot be swapped by legal face turns while everything else remains solved. Check whether the cube was reassembled incorrectly.
How Long Does It Take to Learn?
There is no fixed learning time. Some beginners complete a guided solve in one sitting, while others learn the first, middle, and final layers over several practice sessions.
Your first solve will be slower because you will frequently stop to read the notation, locate pieces, and check the cube’s orientation. Accuracy is more important than speed at this stage.
Aim to complete several correct solves while using the algorithm table. Once you can solve the cube consistently, begin memorizing each sequence according to its purpose rather than treating it as an unrelated string of letters.
With practice, the moves will become more familiar and your pauses will gradually become shorter.
How to Solve the Cube Faster
Continue using the beginner method until you can complete it reliably.
To improve your times:
- Reduce pauses by looking for the next piece while finishing the current one.
- Practice accurate quarter-turns instead of overturning a layer and correcting it.
- Learn to build the white cross directly on the bottom rather than making a daisy.
- Practice each algorithm separately until you can perform it without checking every letter.
- Plan several white-cross moves before beginning the solve.
After you can solve the cube consistently, you can explore methods such as CFOP or Roux. Advanced methods require more pattern recognition and memorization, so they are easier to learn after you understand how pieces move.
Frequently Asked Questions
Does this method work on stickerless and speed cubes?
Yes. The method works on any normally assembled standard 3×3 cube, including stickerless cubes and most speed cubes. The cube’s mechanism does not change where its pieces belong.
What if my cube uses a different color arrangement?
Use the six center pieces as your guide. An edge belongs between its two matching centers, and a corner belongs between its three matching centers. You do not need to memorize a particular color scheme.
Can I stop halfway through a solve and continue later?
Yes. Complete the algorithm you are currently performing before stopping. Photograph the cube so you can restore the same orientation when you continue.
Why is one of the layers difficult to turn?
The adjoining layers may be slightly misaligned. Straighten them before trying again. Do not force a stiff or misaligned layer, because doing so can damage or dislodge a piece.
Does this method completely solve a picture cube?
It usually places the movable pieces correctly, but the images on the center pieces may still be rotated. Picture cubes can require additional center-orientation moves.
When should I learn CFOP or another speed-solving method?
Start after you can complete the beginner method consistently and understand how edges and corners are positioned. Before learning many new algorithms, work on reducing pauses and planning the white cross more efficiently.