Key Takeaways
- Read both vehicles’ owner‘s manuals before connecting jumper cables because some models have dedicated jump posts or special instructions.
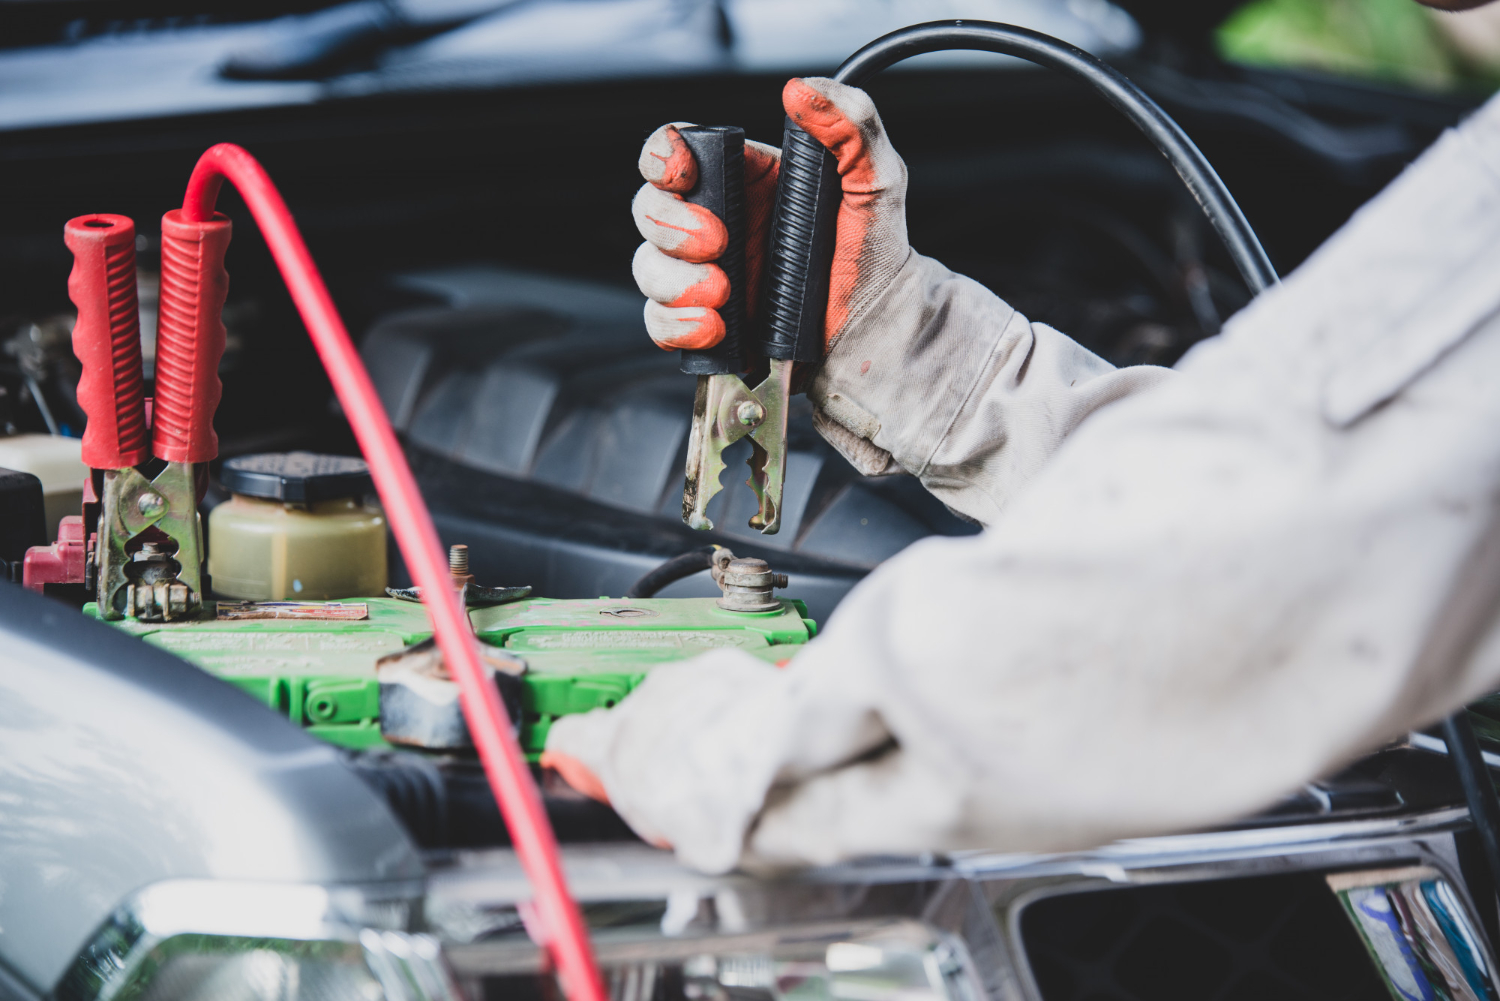
- Connect the clamps in this order: discharged positive, donor positive, donor negative, and the approved ground point on the discharged vehicle.
- Never jump-start a battery that is frozen, cracked, leaking, swollen, warped, unusually hot, or giving off a strong rotten-egg odor.
- After the vehicle starts, remove the clamps in reverse order and prevent them from touching one another or surrounding metal.
- A jump-start provides temporary starting power. The battery and charging system should be tested if the cause of the discharge is unclear or the problem happens again.
A weak or discharged car battery can leave you stranded, but jumper cables or a portable jump starter may provide enough power to start the vehicle. The procedure is not difficult, but an incorrect connection can create sparks, damage electrical components, or cause a serious injury.
Before doing anything, read the jump-starting section in both vehicles’ owner‘s manuals. Some vehicles use remote jump terminals because the battery is in the trunk, beneath a seat, or behind an interior panel. Manufacturer instructions always take priority over this general guide.
This guide primarily explains how to jump-start a conventional 12-volt gasoline or diesel vehicle. Hybrids and electric vehicles require additional precautions, which are covered later in the article.
How Jump-Starting a Car Works
Most conventional passenger vehicles use a 12-volt battery to power the starter motor and other electrical systems. When the battery does not have enough charge, a working battery or portable jump pack can temporarily provide the current needed to start the vehicle.
After the engine starts, the alternator supplies electrical power and begins returning some charge to the battery. However, starting the engine does not mean the battery is healthy or fully charged. A deeply discharged or failing battery may require a suitable external charger or replacement.
Signs the Battery May Be the Problem
A weak or discharged battery commonly causes one or more of these symptoms:
- Dim interior or dashboard lights
- Slow engine cranking
- Rapid clicking when you turn the key or press the start button
- Electrical accessories that do not operate
- No dashboard activity
A jump-start is more likely to help when the lights were accidentally left on, the vehicle has been parked for an extended period, or cold weather has reduced the battery’s available power.
The battery may not be the main problem if the engine cranks at its normal speed but does not start. That symptom may involve the fuel, ignition, security, sensor, or engine-management system.
One solid click can indicate a starter or starter-solenoid problem, although a weak battery or poor cable connection can produce a similar symptom. If the vehicle starts with a jump but stops shortly afterward, the charging system may not be supplying enough power.
These symptoms are useful clues, not a complete diagnosis.
What You Need
For a traditional jump-start, you need:
- Undamaged jumper cables with insulated clamps
- A donor vehicle with a compatible electrical system
- Safety glasses
- Work gloves, when available
For most passenger vehicles, both electrical systems must be 12 volts. Never connect vehicles or equipment that use different voltages.
Before beginning:
- Remove rings, bracelets, necklaces, watches, and other metal jewelry.
- Check the cables for exposed wire, melted insulation, loose connections, or badly corroded clamps.
- Make sure the vehicles can be positioned safely away from moving traffic.
- Keep cigarettes, flames, and other ignition sources away from the batteries.
A fully charged portable jump starter may be used instead of another vehicle. Follow the jump-pack instructions because its connection and activation sequence may differ.
Do Not Jump-Start the Car in These Situations
Do not attempt a jump-start if the battery is:
- Frozen
- Cracked or leaking
- Swollen, bulging, or warped
- Giving off unusual heat
- Producing a strong rotten-egg or sulfur-like odor
- Visibly damaged
These conditions may indicate freezing, internal damage, overheating, overcharging, or gas accumulation. A damaged or frozen battery may rupture or explode when connected to another power source.
Do not continue if you smell gasoline, see a fuel leak, cannot identify the correct terminals, or cannot position the vehicles safely.
Do not lean directly over either battery while making connections. Batteries may release flammable hydrogen gas, and lead-acid batteries contain corrosive sulfuric acid.
Call roadside assistance or a qualified technician whenever the battery or working conditions appear unsafe.
How to Jump-Start a Car With Jumper Cables
1. Read Both Owner’s Manuals
Confirm that both vehicles can be used for the procedure. Locate the approved positive terminals and grounding points.
Some vehicles have remote jump posts under the hood even when the battery is elsewhere. Do not remove interior panels or connect directly to a concealed battery unless the owner’s manual instructs you to do so.
Do not use a hybrid or electric vehicle as the donor unless its manufacturer specifically permits it.
2. Position and Secure the Vehicles
Park the donor vehicle close enough for the cables to reach without being stretched. The vehicles must not touch.
Place automatic transmissions in Park and manual transmissions in Neutral. Apply both parking brakes.
Switch off both vehicles before connecting the cables. Turn off the headlights, climate control, audio system, heated seats, chargers, and other electrical accessories.
Open the hoods or covers protecting the approved jump points. Keep the cables away from fans, belts, pulleys, fuel-system components, and other moving or sensitive parts. Cooling fans may start unexpectedly on some vehicles.
3. Identify the Terminals
The positive terminal is marked with a plus sign and often has a red cap or cable. The negative terminal is marked with a minus sign and is often connected to a black cable.
Do not rely on color alone. Replacement cables, dirt, poor lighting, or missing covers can make colors unreliable. Locate the actual plus and minus markings before attaching a clamp.
4. Connect Red to the Discharged Vehicle’s Positive Terminal
Attach one red clamp to the positive terminal or designated positive jump post on the vehicle with the weak battery.
The clamp must grip clean, solid metal securely. Keep the other clamps separated and under control.
5. Connect Red to the Donor Vehicle’s Positive Terminal
Attach the other red clamp to the donor battery’s positive terminal or approved positive jump post.
Check that both red clamps are stable and that the cables cannot fall into moving engine parts.
6. Connect Black to the Donor Vehicle’s Negative Terminal
Attach one black clamp to the donor battery’s negative terminal or approved negative connection point.
Do not allow the clamp or cable to touch a positive terminal.
7. Connect Black to the Approved Ground Point
Attach the final black clamp to the grounding point specified in the discharged vehicle’s owner’s manual.
The approved location may be:
- A dedicated ground post
- A solid, unpainted engine component
- A substantial unpainted metal bracket away from the battery
Do not use a fuel line, intake component, electrical part, painted surface, thin sheet metal, or moving component.
Unless the vehicle manufacturer specifically instructs otherwise, do not attach the final clamp directly to the discharged battery’s negative terminal. The final connection may create a spark, so placing it away from the battery reduces the chance of igniting gas around the battery.
Connect the clamps in this order:
- Red to the discharged vehicle’s positive terminal.
- Red to the donor vehicle’s positive terminal.
- Black to the donor vehicle’s negative terminal.
- Black to the discharged vehicle’s approved ground point.
8. Start the Vehicles
Start the donor vehicle and operate it as directed by its owner’s manual. Some manufacturers recommend idling, while others specify a moderate engine speed. Do not aggressively rev the engine.
Wait for the period recommended in the manual, and then try to start the discharged vehicle. Crank the engine only briefly instead of holding the key or start button continuously.
If the vehicle does not start:
- Switch off its ignition.
- Check that all four clamps have secure metal-to-metal contact.
- Wait as directed by the manuals.
- Make one or two additional short attempts.
Stop after a few unsuccessful attempts. Repeated cranking can overheat the starter, and continued failure may indicate a damaged battery, poor cable connection, starter fault, or another mechanical problem.
9. Disconnect the Cables in Reverse Order
Once the disabled vehicle starts and continues running normally, wait for the period specified by the vehicles’ owner’s manuals.
Remove the clamps in this order:
- Black clamp from the ground point on the restarted vehicle.
- Black clamp from the donor vehicle’s negative terminal.
- Red clamp from the donor vehicle’s positive terminal.
- Red clamp from the restarted vehicle’s positive terminal.
Hold each disconnected clamp carefully. Do not allow it to touch another clamp, a battery terminal, or nearby metal while any part of the cable set remains connected.
What to Do After the Vehicle Starts
Do not assume that the battery is fully charged simply because the engine starts.
Follow the vehicle manufacturer’s instructions about how long the vehicle should remain running or be driven. When safe, drive to a suitable destination, service facility, or battery-testing location. Avoid switching off the vehicle unnecessarily until you are somewhere safe.
A short drive may restore enough energy for another start, but it may not fully recharge a deeply discharged battery. A suitable battery charger may be needed to restore the battery properly. Relying on the alternator alone can place additional demand on the charging system when a battery is severely depleted or failing.
Arrange a battery and charging-system test as soon as practical, especially when:
- The cause of the discharge is unknown.
- The battery has needed more than one jump.
- The engine continues to crank slowly.
- The vehicle starts and then stops.
- The battery is several years old.
- A warning light remains on.
Testing can reveal a worn battery, weak alternator, poor terminal connection, damaged cable, or parasitic electrical drain.
Why the Car Will Not Start After a Jump
| Symptom | Likely causes | What to do |
| No lights or dashboard activity | Very low battery charge, poor clamp contact, or damaged connection | Recheck the four connections and stop if the battery is damaged |
| Rapid clicking | Insufficient power or high resistance at a connection | Reposition clamps on clean metal and make one more careful attempt |
| One solid click | Weak battery, poor connection, starter, or starter-solenoid fault | Stop repeated attempts and arrange diagnosis |
| Engine cranks normally but does not start | Fuel, ignition, security, sensor, or engine-management problem | Seek mechanical diagnosis |
| Engine starts but soon stops | Severely discharged battery or charging-system fault | Have the battery and alternator tested |
| Vehicle repeatedly needs a jump | Aging battery, charging fault, electrical drain, or loose connection | Test the complete starting and charging system |
If the dashboard lights remain bright and the engine cranks normally, continuing to use jumper cables is unlikely to solve the problem.
How to Use a Portable Jump Starter
Confirm that the jump starter is charged, provides the correct voltage, and is rated for the vehicle’s engine and battery system.
Turn off the vehicle and all accessories. Connect the red clamp to the approved positive jump terminal. Connect the black clamp to the manufacturer-approved negative or ground point.
Activate the jump starter only after the clamps are secure and only as directed by its manufacturer.
Start the vehicle. After it enters its normal running or Ready state, deactivate the pack if required. Remove the black clamp first and the red clamp second, unless the instructions specify a different procedure.
Smart jump starters may include:
- Reverse-polarity protection
- Poor-connection warnings
- Spark protection
- Status lights
- Manual override or boost modes
These features differ between products. Do not assume that every pack operates in the same way, and do not use an override mode unless the instructions clearly explain when it is appropriate.
Can You Jump-Start a Hybrid or Electric Vehicle?
Many hybrid and electric vehicles have a low-voltage battery that powers locks, computers, relays, lights, and control systems. That low-voltage system may sometimes be jump-started, but the approved procedure is model-specific.
Jump-starting the low-voltage system does not charge the high-voltage traction battery.
Never open, touch, or connect jumper cables to high-voltage battery components. Avoid orange high-voltage cables and any component carrying a high-voltage warning label.
Use only the low-voltage jump points described in the owner’s manual. A hybrid or electric vehicle may enter Ready mode without its gasoline engine running, so check the instrument panel rather than listening for engine noise.
Do not use a hybrid or electric vehicle to jump-start another vehicle unless its manufacturer expressly permits it. Some manufacturers warn that doing so can damage the low-voltage electrical system.
Common Jump-Starting Mistakes
One of the most dangerous mistakes is reversing the positive and negative connections. Reverse polarity can damage fuses, control modules, charging components, and other electronics.
Other common mistakes include:
- Failing to read the owner’s manual
- Using vehicles with incompatible voltages
- Allowing the vehicles to touch
- Leaving accessories switched on
- Connecting the final black clamp near the discharged battery
- Using damaged cables
- Attaching a clamp to paint, plastic, or an unstable bracket
- Allowing clamps to touch
- Routing cables near fans, belts, or pulleys
- Aggressively revving the donor engine
- Continuing repeated starting attempts
- Assuming that the battery is repaired once the vehicle starts
A jump-start supplies temporary power. It does not explain why the battery discharged or prove that the battery can hold a charge.
How to Prevent Another Dead Battery
Have the battery tested if it:
- Cranks the engine slowly
- Has required more than one jump
- Has recently been deeply discharged
- Is approaching the service life expected by its manufacturer
- Shows signs of swelling, leakage, or damage
Battery life depends on temperature, driving patterns, electrical demand, charging-system condition, storage, and maintenance.
Before leaving the vehicle, check that interior lights, cargo lights, and accessories are off. If the vehicle will be stored for an extended period, consider a manufacturer-approved battery maintainer.
Keep battery connections secure. Have visible corrosion or damaged terminals addressed according to the battery or vehicle manufacturer’s instructions.
Frequently Asked Questions
Can jump-starting damage a car’s electronics?
Yes. Reverse polarity, incorrect jump points, mismatched voltage, or a short circuit can damage fuses, control modules, and charging components. Read the owner’s manual and confirm every terminal before connecting a clamp.
What if the battery is in the trunk or under a seat?
Do not automatically connect directly to the battery. Many vehicles provide remote jump posts under the hood. Use the positive terminal and ground point specified in the owner’s manual.
Can corroded battery terminals prevent a jump-start?
Yes. Heavy corrosion can prevent the clamps from making a secure electrical connection. Do not aggressively scrape or disturb the terminals while the jumper cables are connected. Arrange professional service if you cannot make a safe connection to clean, solid metal.
Can I use a jump pack rated for a larger engine?
The pack must provide the correct voltage—normally 12 volts for passenger vehicles—and be approved for the vehicle’s electrical system. A pack with greater current capacity is not the same as a higher-voltage supply. Follow the instructions for both the vehicle and the jump starter.
Why will my smart jump starter not activate?
The pack may have detected reversed polarity, poor clamp contact, insufficient internal charge, or battery voltage outside its normal operating range. Recheck the approved connection points and consult the manufacturer’s instructions. Do not use an override mode unless the instructions specifically explain when it is safe.
When should I stop and call roadside assistance?
Call for help if the battery is frozen, leaking, cracked, swollen, unusually hot, or foul-smelling; if fuel is leaking; if the vehicle is exposed to unsafe traffic; if you cannot identify the correct jump points; or if a few careful attempts produce no improvement.